Assignment 1: Zentangles
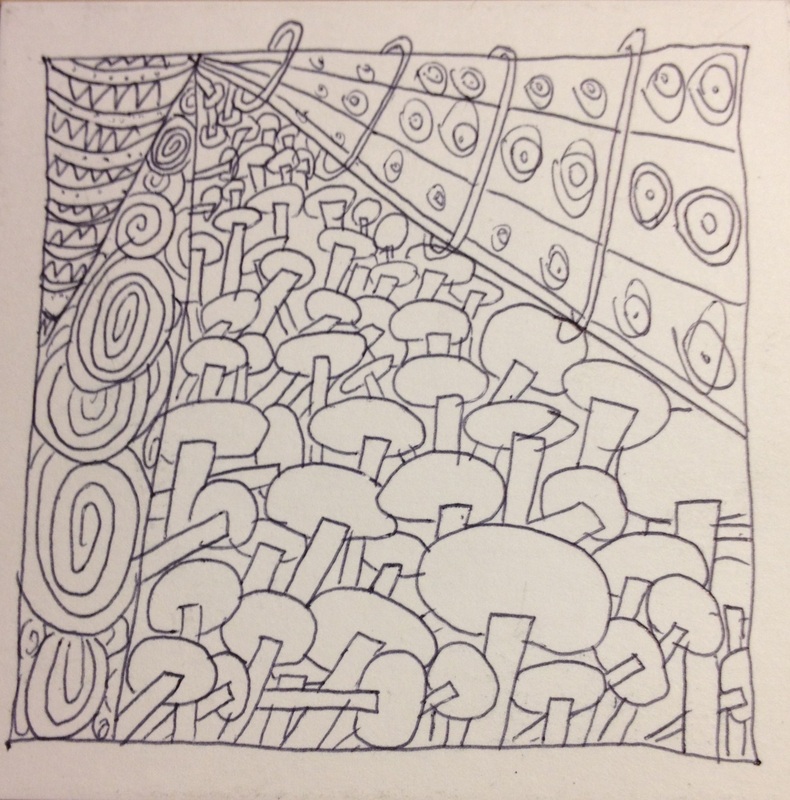
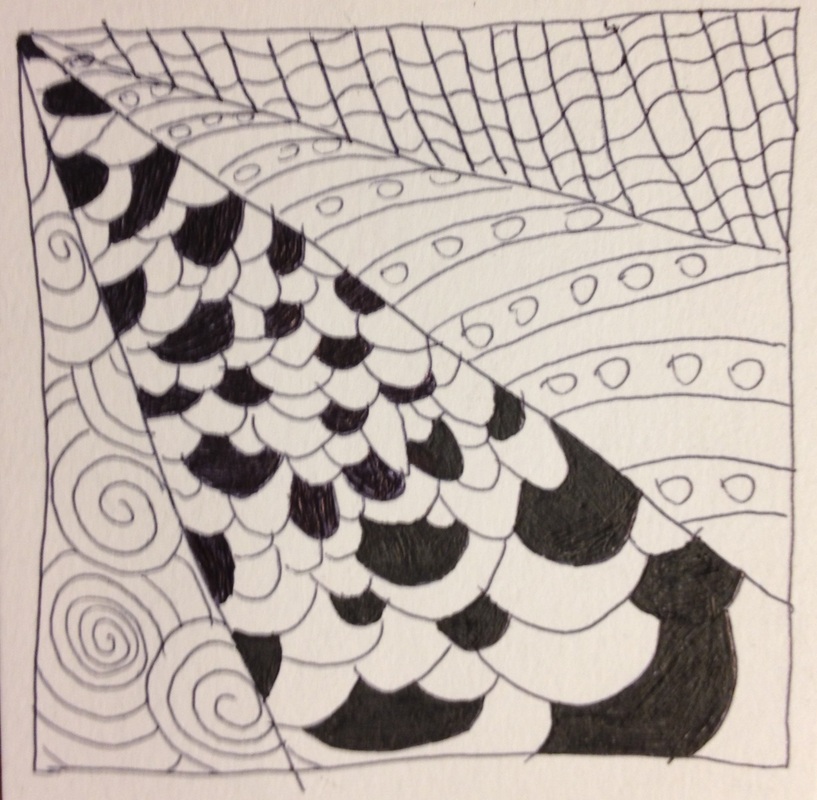
While doing my first zentangle, I learned a lot. I learned the value of the elements of art as well as my artistic level. My zentangles utilize the line - a dot moving in space. Each individual section uses line to create its own pattern. Shape is also shown in my zentangles, as each section has a display of individual shapes to create a unified piece. Another element displayed in my zentangles is space. There is both positive and negative space in both pieces, as they utilize different areas and create a whole piece.
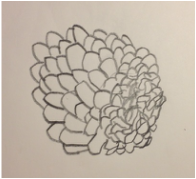
Assignment 4: Modified Pine Cone Contour Drawing
Assignment 5: Elements of Art
Elements of Art Acronym:
Stupid Carl Triceratops Found Seashells Very Long ago
(Shape, Color, Texture, Form, Space, Value, Line)
Also included in my group were Nick E and Harrison L
Stupid Carl Triceratops Found Seashells Very Long ago
(Shape, Color, Texture, Form, Space, Value, Line)
Also included in my group were Nick E and Harrison L
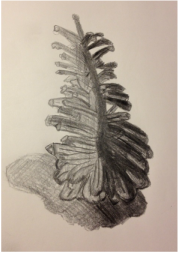
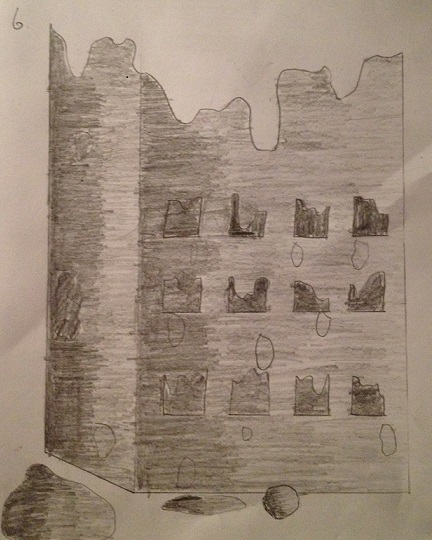
Assignment 7: Hatching/Cross Hatching of Pine Cone
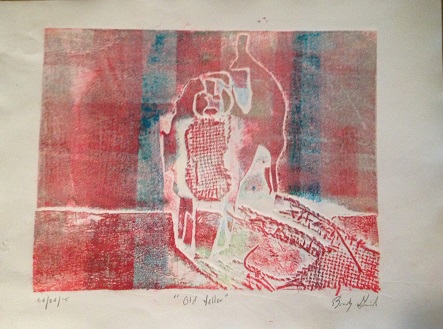
Project 1: Modified Gyotaku Print
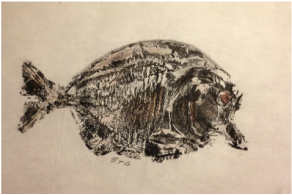
I used a dark, warm color scheme in my print. I chose these colors because I thought they looked very traditional. These colors make me feel comfortable, but they are pretty neutral. To print this fish, I painted black ink onto a fish print and pressed it against rice paper. I painted a rice paste onto the back of the work and wet mounted it on a piece of paper onto a wooden board. After 24 hours, I cut the piece off of the wood and modified it. I modified the fish using watercolor pencils and dark colored color pencils to give it a more intricate look. I added dark coloring near the fins and added a defined eye. My feelings about this project stayed about the same throughout this process, as I enjoyed the project from the start. I think I was very successful with this project and I am very pleased with my work. This project was meant to help me become a self-directed learner, which means taking initiative and working independently. I have always enjoyed doing self-directed work and I showed this throughout this printmaking process. A great example of my self-directed learning is this work of art. I made decisions about how I wanted to modify my art independently, which shows taking initiative in the process.
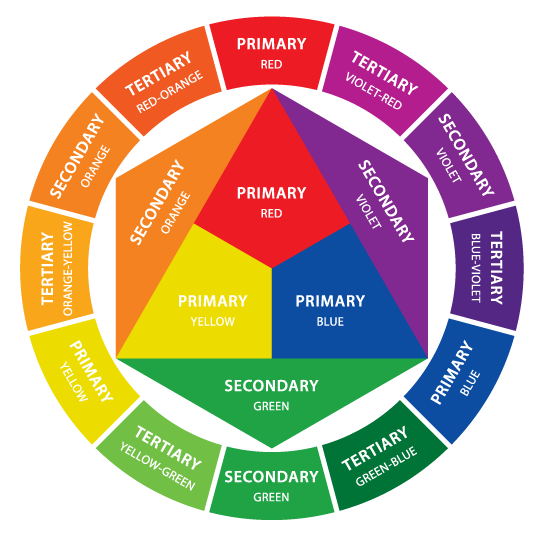
Assignment 8: Color Wheel
http://www.pengadprinting.com/drupal6/core/sites/default/files/Colorwheel.png
|
The color wheel is a wheel that contains all primary colors, secondary colors, complementary colors, analogous colors, and intermediate colors. Also, it contains the cool colors - greens and blues - and warm colors - reds and oranges. The primary colors are red, yellow, and blue. The secondary colors are green, orange, and purple. Complementary colors are the colors that sit opposite each other on the color wheel, including red and green, as well as yellow and purple. Analogous colors are sets of three colors that sit next to each other on the color wheel, with one being dominant, such as red, red-orange, and red-violet. Intermediate colors are made by mixing primary and secondary colors. For example, the primary color red mixed with the secondary color orange create the intermediate color red-orange.
A triad is a color scheme on the color wheel that is composed of three equally-spaced colors, such as red, yellow, and blue. Two triad color schemes include the primary colors: red, yellow, and blue as well as the secondary colors: orange, violet, and green. |
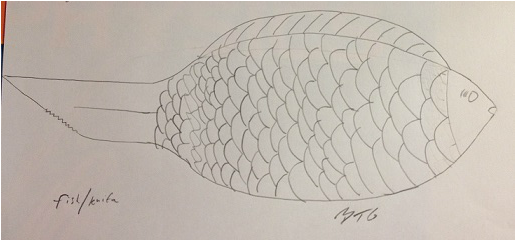
Assignment 9: Preposterous Crosslinks (Fish/knife)
Assignment 10: Realistic Graphite Drawing

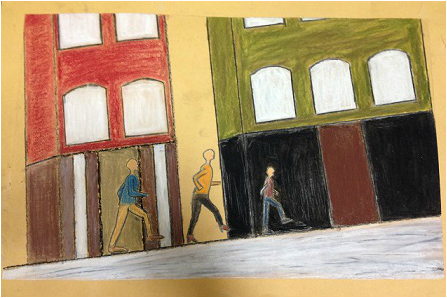
Assignment 11: Pastel Service Project
Assignment 12: Two Drawing Prompts

My first drawing is a melting building while my second drawing is the number seven turned into a cat.
Assignment 13: Collagraph Printmaking
Despite this being my first collagraph experience, I think it turned out very well. This collagraph is actually a print of my realistic graphite drawing (assignment 10). To begin, I traced the areas of space - positive and negative - and transferred them onto construction paper. I then cut these pieces out and glued them to a sheet of cardboard. After that, I cut out and glued pieces of yarn and other random items onto the construction paper where some of the pieces were in order to create some texture. After I let that dry, I rolled ink onto the cardboard. To create a print, I wet a sheet of paper, put the cardboard under the paper, and then ran it through the printing press. The print pictured above is my favorite out of the dozen that I created. I learned a lot during this project; I learned the printmaking process for the first time. This was a new experience for me, but I worked very hard and I think my finished product is presentable.
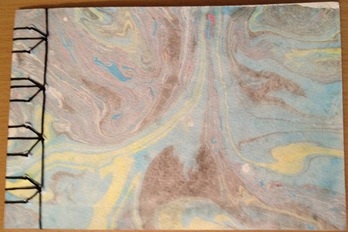
Assignment 14: Japanese Bookbinding
|
Assignment 15: Tortoise Shell Bookbinding
|
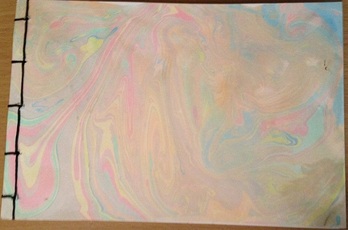
This project was another first for me; I had never created a book before. With the help of some classmates, I was able to bind both of these books over the course of a about a week. To begin, I marbled the covers by dripping ink into a tub of water and inserting the surface of the paper, so as to create a swirly pattern. After these covers dried, I was given five sheets of paper to use as the pages. After folding the paper and inserting it between the covers, I measured the holes (five on the Japanese bookbinding, twelve on the tortoise shell). After marking the holes, I pressed a clay tool and needle through the paper. Once the holes were made, I measured the string. Once I cut the string, I began binding. The binding turned out very well and the book feels solid. I am very happy with this project and I learned a lot throughout the process.
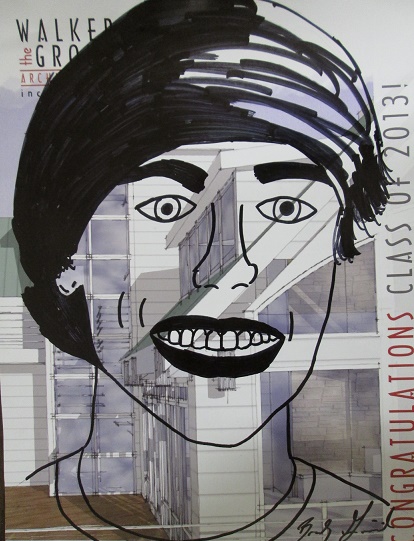
Assignment 16: High Contrast Portraits